
Year 8 ~ Overview in pictures!
Highlights of what we’ve been up to!
Getting to Know Each Other
(Sept. 28, 2026)
Opening Activity Sheet:
As we wait for everyone to arrive the girls worked on a hidden activity sheet: Noah’s Ark: find 2 cats, 2 bunnies, and 2 mice.
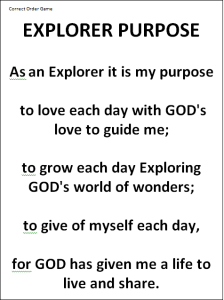
Reviewed the Explorers Purpose
Game #1: Get to Know You
“My Name is; My favourite colour is?; My favourite animal is, etc.” Can they remember what everyone said each time we go around the circle?
 Game #2: How many names can you remember?
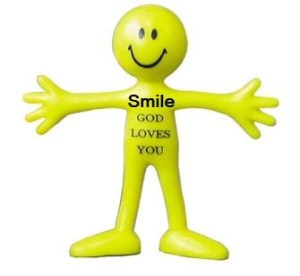
Each girl went around the circle and said as many names as they could remember, which caused limitless laughter as we all got more than one wrong. Everyone received a prize of a “Smiley God Loves You! Bendy Guy” for their memory efforts!
 Game #3: Crazy Chairs
A circle of chairs equal to number of players.
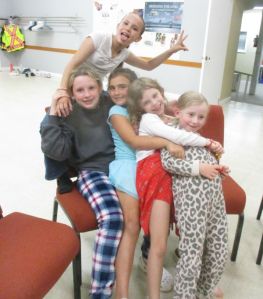
Leader says a statement, examples: “If you have the colour red on ~ move two chairs to the left; or “If you have blue eyes ~ move five chairs to the right” (you sit on whoever is already there).
Hilarious pileups ensue!
Explorers’ Memory Boxes
(Oct. 27, 2026)
Unfortunately the red bucket hats we generally order, for the girls, have suddenly become very pricy! So this year the girls are stencil painting a wooden Memory Box for their Explorers Keepsakes instead.
Opening Activity Sheet:
As we wait for everyone to arrive the girls worked on a hidden activity sheet: Widow’s Mite: find the 10 hidden coins.
MEMORY BOXES
Choosing name letters and a wooden box:
Once everyone had arrived the girls were sent off to God’s Story Table room where the table was covered in an assortment of wooden letters. Once they found letters to spell out their name, they brought them back and selected a box, placing their letters on top of it. Then we all headed over to the paint table.


Paint Table:
At the paint table Luanne demonstrated how to paint with stencils:
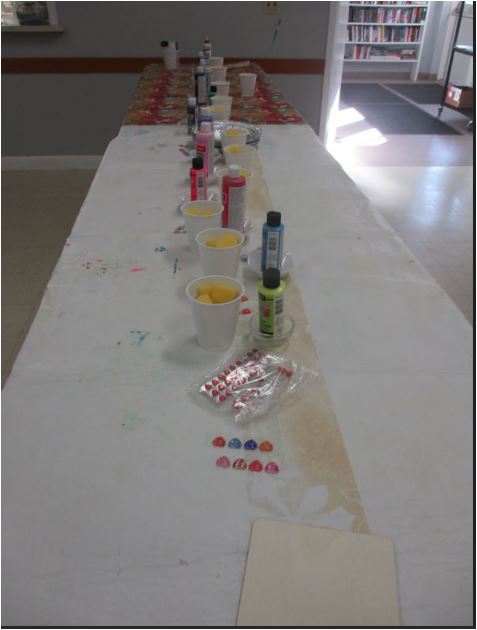
1) Stencils: How to remove stencil from the sheet and then position the sticky back side onto their box.


2) Brushes: Called “sponge dabbing brushes”, 3 sizes to choose from, size chosen will depend on the size of the stencil you are painting. Small stencil you will want to use the smallest brush. With each paint colour there are 3 sized brushes. Those 3 brushes stay with that paint colour, so we will be sharing the brushes.
3) Acrylic Paint: Showed them how you only place a small amount of paint in bottom of bowl—one colour per bowl. We had lots of colour shades to choose from: black, brown, green, pink, purple, yellow, blue, and red. We will be sharing the bowels of paint.
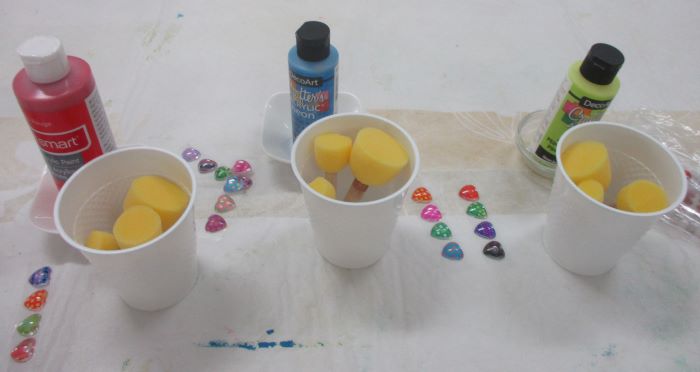
4) Applying paint to your brush, then stencil: Showed them how you lightly touch the brush into the paint, then dab off excess paint onto a paper towel, then dab over the stencil doing their best to stay inside the stencil. They may have to do this a few times to fully fill in their chosen stencil(s). If they wanted to paint a single stencil with different colours they had to use a single brush for each colour, not to dip any brush into more than one paint, this would also give them cleaner looking colours.
5) Masking Tape: Showed them how to add a strip of painter’s tape to any side of the stencil that came too close to the edge to help avoid getting paint outside the stencil.
6) Everyone could also pick a sheet of 4 glass heart stickers.
7) When they finished painting their box they positioned their name (wooden letters) where they wanted it, then let Luanne know it was ready for her to glue on the letters for them, using a glue gun.
Also, had baby wipes on hand for any messy fingers. The wipes also worked well to clean the paint off the stencils if you got to them while paint was still wet, although they didn’t clean any stray paint off the wooden boxes (we tried-LOL). Right afterwards I placed the paint brushes that had been used into the white plastic cups and filled each cup with water until I could rinse them well individually under tap water, squeezing until they ran clear, then squeezing them with paper towels, then let them air dry.
They were really good listeners, paying attention to my instructions, as you can tell from their finished memory boxes, which were all totally unique and each a beautiful work of art! (Names blocked out for privacy.)
Explorers’ Christmas Ornaments
(Oct. 19, 2026)
Tonight the girl’s designed Christmas Ornaments using Canning Jar Lids, and an assortment of Christmas Cards and Wooden Christmas Cut-outs, for our upcoming Explorer fundraiser table at the Annual Hampton United Church Christmas Craft & Bake Sale. At the Craft Show the girls talk about the Explorers program to visitors and anyone who kindly gives a donation to support the Explorers program can then select an ornament, in thanks, that the girls made.
Photos of their ornament creations this year.
Gratitude Pumpkin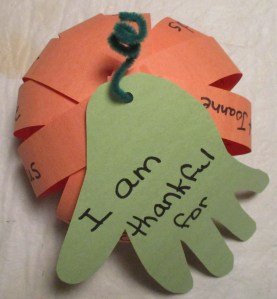
(Oct. 26, 2026)
Tonight we caught the girls up who had missed previous meeting activities.
One girl did her memory box.
Several girls made their ornaments.
Those who had done both of the above activities created a Gratitude Pumpkin. On their strips of pumpkin they wrote things that they were grateful for.
When the first two groups finished they also made a gratitude pumpkin.
Creation
(Nov. 2, 2026)
Tonight the girl’s enjoyed a Tandem Storytelling when God created the universe written by Steven James (24 Tandem Bible Storyscripts for Children’s Ministry). Tandem Storytelling is when two storytellers alternate telling a story in which one storyteller gets mixed up while the other storyteller tries to get everything right, our characters Bonnie and George (George was the mixed up guy). Luanne took on the roll of George and had the kids rolling with laughter at her singing/dancing!!
We then headed to the computers and broke into groups of two to play Bible Champions II – God Created the World. In this program the girls work their way through the creation story and completed tasks along the way to move forward in the game. When they complete a task they are rewarded with coins they then collect.
Christmas Ornament Fundraiser
(Nov. 7, 2026)
At the annual Hampton United Church Christmas Craft & Bake Sale the Explorers have their fundraising table.
When anyone stops to admire our ornaments it gives the girls a chance to tell them what the Explorers program is about and what kinds of activities they do and that this is our main fundraiser as the program is free to the girls.
We have a wide range of ornaments made over the years, including the canning jar lid ornaments made this year! Anyone who gives a donation can then select a handmade ornament as our thank you.
New this year Joanne Payne donated several mini-crochet items she makes for us to raise some additional funds. Thanks Joanne, they were a hit, with kids and adults alike!
Current count raised is $430, with a few donations still to come! Thanks everyone who donated to the Explorers program!!

